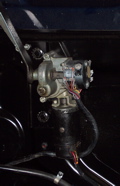
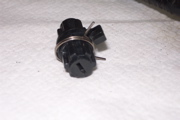
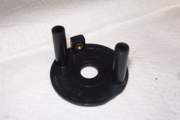
This is the Upper Back Panel Switch. For many, the cause of many top operation problems.
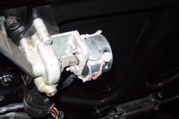
To remove, set the flap to 75% up, remove the two nuts on the gear side, and disconnect the harnesses.

When opening the switch, be carefull that nothing goes flying. Springs are ready to send the rollers across the room.
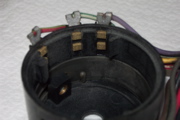
These are the contacts. On improved switches, they are silver plated. I sandblasted these to remove corrosion.
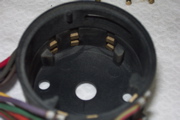
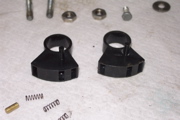
Connect the side plate without the tubes to the contact ring by gently snugging up its adjustment screw.
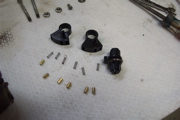
These are the rollers, springs, and carriers. I polished the rollers with 3M green ScotchBrite pads.
My carriers were undamaged. The springs were OK and the rollers were too. Both carriers are the same.
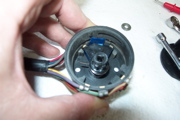
This is the center pivot and torsion spring. It moves the carriers at the extreme ends of rotation.
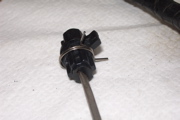
Never try to turn the pivot from the "D" side. Use a flat blade screwdriver in the slot. Find a snug fit to avoid tearing it up. If your pivot is broken, repair it or send it out to be fixed. There are no known sources for these parts.
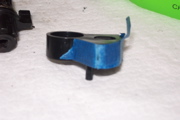
The outer housing provides the adjustment and the lockdown. Check yours for cracks around the brass insert. This is what holds the switch adjustment in place after setting the stops on the car.

Putting the switch back together is the hardest part. It's a two person job without special fixtures. By folding tape on itself so there is no sticky against the rollers. This setup will allow you to insert the carrier into the housing without the parts popping out. Note the position of the spring and the orientation of the carrier of the bottom half of the switch.
Position the tape on the second carrier the opposite manner. That's because one carrier faces up and the other faces down.
You can see the first carrier installed. Peel the sides of the tape away and pull on the tab to remove the tape. You will have to gently pivot the carrier away from the tape without letting the rollers out.
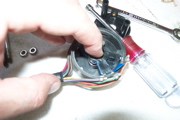
You have to pull on the torsion spring to insert the second carrier. Use a small hook tool while a helper inserts the second carrier. This pre-loads the spring and holds to two carriers in position. The center pivot is what actually changes the contact positions at the extreme ends. Hold it together with your fingers until you get the tape out and the cover back on. Once back together, you can adjust it on the car.