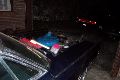
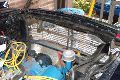
First, we removed the hood to get it out of the way.
We put it in a safe place where it wouldn't get scratched.

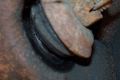
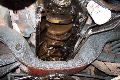
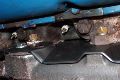
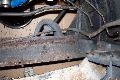
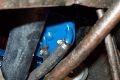
A future project: these strut bushings are bad.
I don't think there is supposed to be a gap.
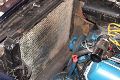
After draining oil and coolant, we removed the fan, shroud, and fuel pump.
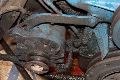
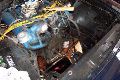
This car was filthy. Overspray and oil covered everything, especially the alternator.
Removal of the expansion tank and radiator gave us more room and meant no "oopses".
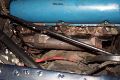
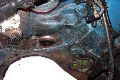
There wasn't too much rust on the crossmember.
Be sure to keep track of the routing of the hoses and lines because you will NOT remember!
Water pump, PS pump, and harmoic balancer removed...
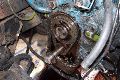
Alas! The timing chain was replaced! However, there was significant slack and the front main seal leaked like a seive.
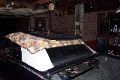
The car is propped up to make room for pulling the oil pan. Break time.
Oil pan pulled. I think the engine looks clean...
Here's a close up of that crank.
See anything missing here?
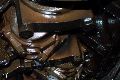
Here's part of the problem... half the gasket is missing! Rusted away!
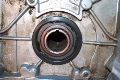
But the true exhaust leak was caused by flaking rust. Can you see the gap? Second port on the right. The valve cover oil leak didn't help either.
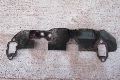
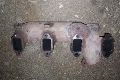
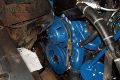
The degreased, resurfaced, and restudded manifold is in place.
Note the brass nuts.
The other side merely got new hardware to seal a leak at the exit pipe.

Got the camshaft gear off, but our puller was too small to get the crank gear.
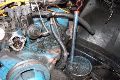
This is about an hour of spraying, scrubbing, and scraping the grime off.
The last oil change stripped out the threads for the oil plug. Sigh... another thing to fix.
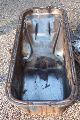
The inside of the pan looked good, but it looks even better now. There was a few small pieces of nylon teeth from the original timing chain inside the pan along with a thin layer of sludge at the bottom of the pan.
And here is the restored oil pan. I retapped the plug to be M14x1.5 to leave room for another strip-out.
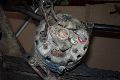
Here's a filthy alternator ready to be restored. I sent it out for cleaning and rebuilding.
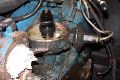
Noting the position of the rotor for removal of distributor.
Here's another angle. Look at that dirt!
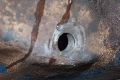
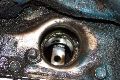
Here's the hole.
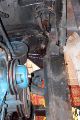
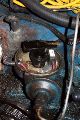
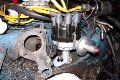
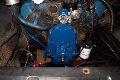
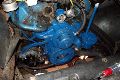
Looking into the engine...
Here is the cleaned distributor back in place. There was little I could do about the grime around it. Next time...

The blasted and painted timing cover...
I mounted the PS pump on the cover before mounting it because of problems with the seal.
The new seal has been enhanced with gasket-maker sealant. This should not leak!
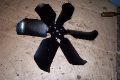
Sandblasted and clearcoated, the fan space is ready to go on the car.
The harmonic balancer was only repainted.
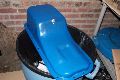
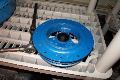
We repainted the fan. This is actually a fan from an air conditioned model. Mine does not have AC.
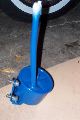
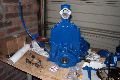
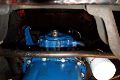
Here is the sandblasted and repainted PS reservoir.
After much fiddling with the oil pump, the new oil pan is in.
With the oil pan loose, I bolted in the timing cover, but not before pouring some oil onto the new timing chain.
I mounted the pump to the cover before putting the cover on the car. I you do that, don't forget to install this bolt first otherwise, you have to remove the pump again.
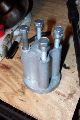
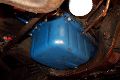
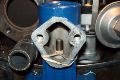
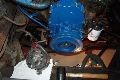
Here's a bottom view of the freshly painted pump
A rubber band kept the fuel pump pushrod in place during assembly.
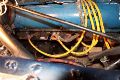
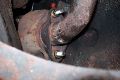
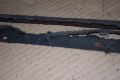
See this? There's supposed to be a channel protecting the harness.
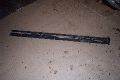
Here it is! Looks rusty.
Yup. Rusty as can be. I'm looking into having a new one fabricated.
The HB is on and the alternator is getting ready to be mounted.
Here the alternator is in place.
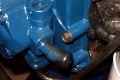
Here's a tight look at the connections to the PS reservoir.
And here is a shot with the belts and fuel pump in place.